Felt Succulent Series YT

DIY Felt Succulents Series – #3 Layered Succulent

For our third succulent, we will be using a felt flower template I found on Pinterest. I thought the design could be used for a felt succulent, especially if you’re doing a cluster display with several other types of felt succulents. Also, this layered felt succulent makes a nice contrast with the roses and star succulents we’ve been making so far in our Succulent Series. Whether you are adding your succulents to a wreath, to a terrarium, or to a vase, this layered succulent will be a great addition to your felt succulent collection!

Felt Succulent Series YT

DIY Felt Succulents Series – #2 Star Succulent

Share on facebook
Share on pinterest

[Disclosure: I only recommend products I would use myself and all opinions expressed here are my own. This post may contain affiliate links that are at no additional cost to you, and I may earn a small commission. Thanks for supporting the brands that support this blog.]

We are in week 2 of The Crafty Lefty’s Felt Succulent Series.  That means another DIY tutorial with free patterns and video tutorials on how to create your own felt succulents!!

We know that these felt succulents are EVERYWHERE these days, but sometimes it’s hard to find free patterns or the instructions they come with can be a little confusing.  That’s why I’ve created 5 tutorials on how to craft 5 different felt succulents.  I’ve done all the research and trouble-shooting and experimenting FOR you. 

All you have to do is stay-tuned to The Crafty Lefty’s DIY Felt Succulents Series to learn how to make these 5 different felt succulents with FREE patterns.  Yeah, you read that right.  There are so many free felt succulent patterns out there made by totally awesome craft bloggers.  So instead of re-inventing the wheel, I’ve linked directly to their site so you can grab the free pattern from them (and check out their super cute crafts)! 

New to the Crafty Lefty’s Felt Succulent Series?  Don’t forget to check out the rest of the DIY tutorials below:
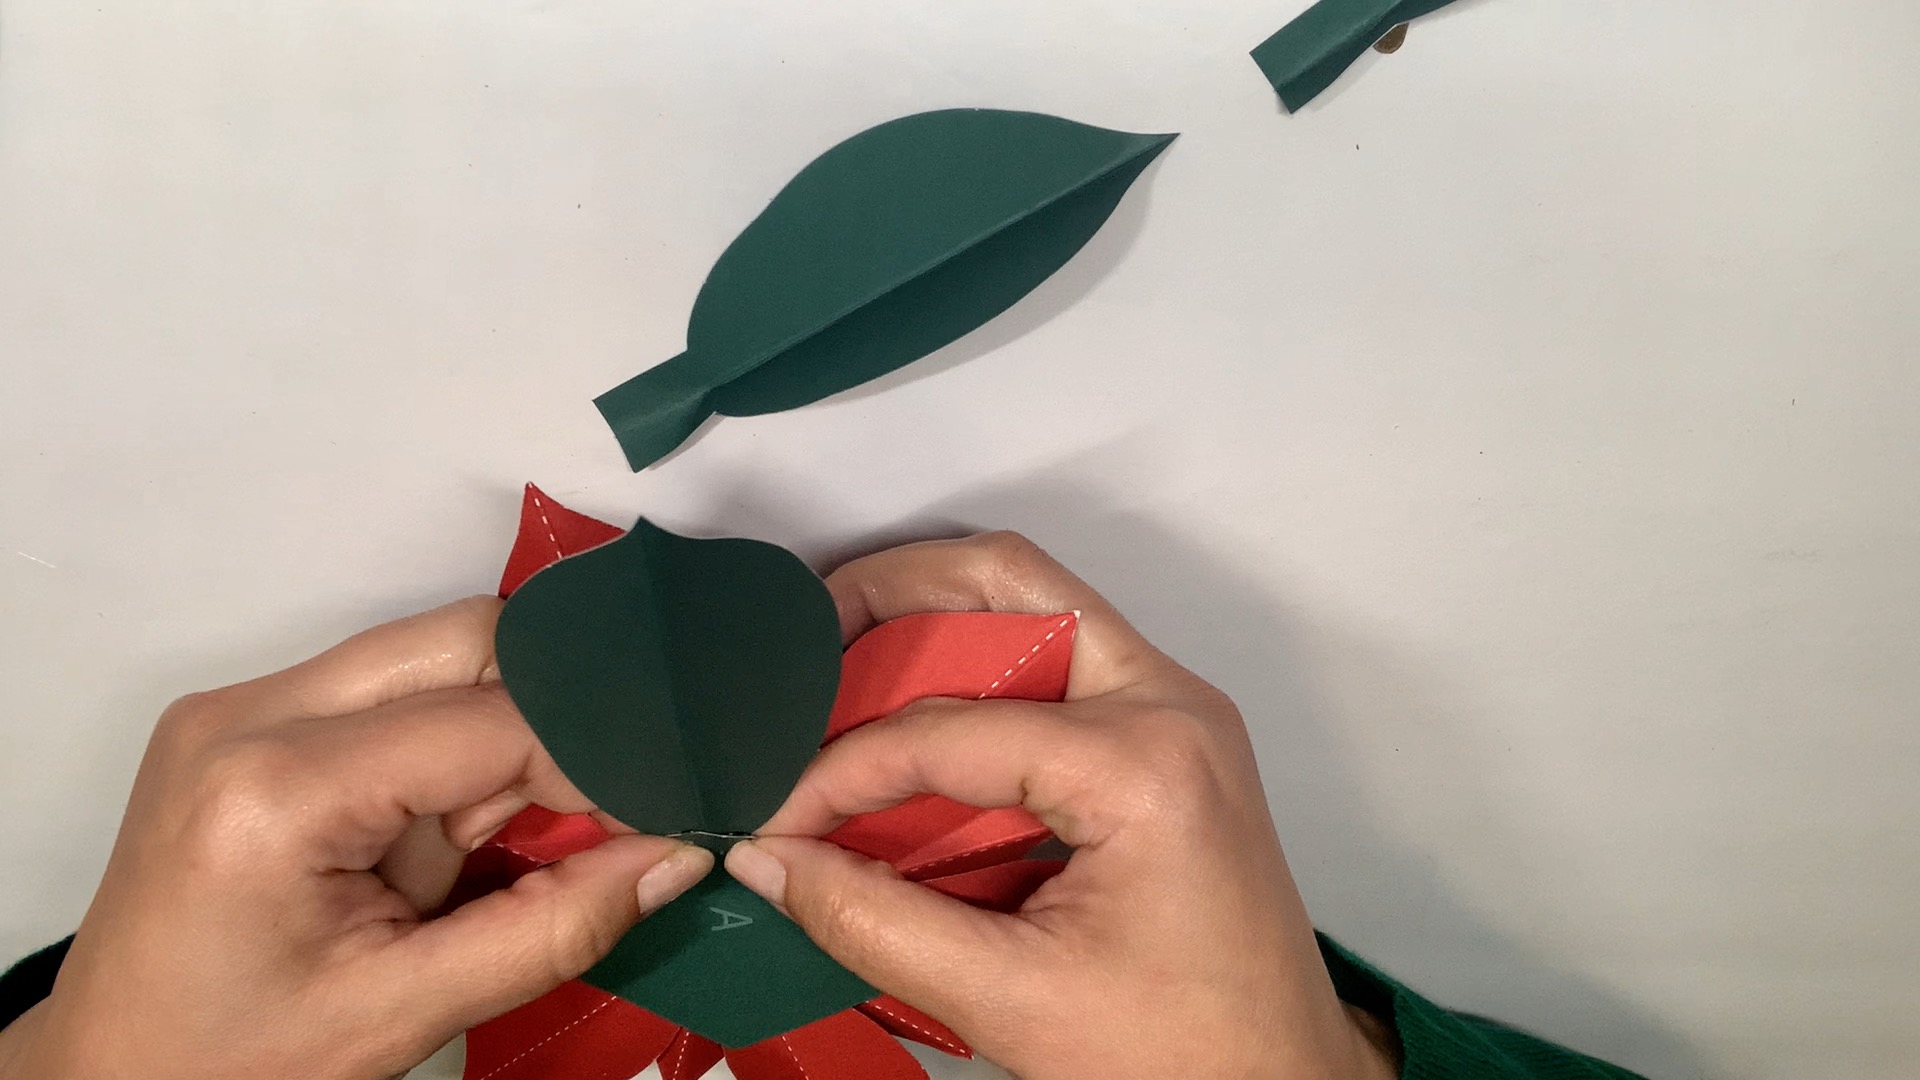
  1. Rose Succulent


Now on to our second felt succulent: the star succulent from Hallmark.  Yeah, I know.  I was like, Hallmark is making free felt succulent patterns now?  But I didn’t waste time thinking about that too much, and just grabbed their super cute (and super free!) succulent patterns

Prefer watching over reading?  No problem!  Click here to watch the DIY video tutorial.

Supplies:  All you’ll need for this star succulent is felt (either stiff or soft, in whatever color you like), fabric scissors (or any sharp scissors), straight pins, hot glue, and the printed hallmark pattern, found here.

1.  First cut out the 3 petal shapes from the pattern, and pin them to your felt.  Hallmark offers 4 different ways to use these shapes to make their star succulents: mini, small, medium, and large.  I decided to make the largest star succulent, which means I needed to cut more petal shapes from my felt. 

2.  Once all of your petal shapes have been cut, organize them by size and fire up that hot glue gun.

3.  For each one of these petal shapes, you’ll first be folding and gluing them at an off-set with a hot glue gun.  That means, not exactly in half, but staggered.  Please see the image below as an example of how I folded the smallest petal shape for the star succulent.

4.  Once you have glued both of your smallest petal shapes at an offset, you’ll be folding and gluing them to create the middle portion of your star succulent.  Here’s how: You will apply glue to the inside bottom edge of your petal, starting at one end and working your way to the end. 

5.  Then, roll the felt over the hot glue to create a rosette.  Take your second off-set smallest petal shape, and roll your rosette over that second petal.  Now, your rosette will look a bit bigger, like this:

6.  Next, you will add your medium sized petals.  You will do the same, and fold and hot glue each one of them at an off-set.  Once you have placed a line of glue along the bottom of one of those medium sized petals, you will take your rosette, seam side down, and lay it flat against your medium-sized petal.  Roll the rosette over the medium-sized petal to create an even bigger rosette.  Continue rolling and gluing until you have used all of your medium sized petals.

7.  Now on to your last layer — the largest petal size.  Go ahead and glue all of your 7 petals at an offset first.  Then, take the rosette you’ve created so far, and glue your folded petals all around (as you did with the medium petal size).  At some point, instead of putting glue on the felt piece and then rolling the rosette, it might make more sense to add the hot glue to the rosette itself, and then press the felt piece to the rosette.  Please see the image below. 

8.  …and that’s it!  This is what your final star succulent should look like!

Let me know in the comments how you liked this pattern.  And stay tuned for more DIY Felt Succulent Tutorials for the next several weeks!  I’ll also be adding 5 unique ways to use felt succulents in your home that you won’t want to miss either!

PR - Poinsettia Kit YT

Craft These Paper Poinsettias for your Christmas Decor!

Share on facebook
Share on pinterest
[Disclosure: I only recommend products I would use myself and all opinions expressed here are my own. This post may contain affiliate links that are at no additional cost to you, and I may earn a small commission. Thanks for supporting the brands that support this blog.]
Check out these beautiful poinsettia flowers that I crafted in a spare afternoon (what, what’s that you say?  Ok, maybe not spare.  Maybe I should say crafted when my 1-year-old was taking a nap, and I needed a creative outlet that did NOT involve picking up her 745 toys off the floor.) But seriously, if you’re looking for a quick, easy craft that you can add to your Christmas home décor this season, this Poinsettia Kit from Michael’s is a great option!  The kit it on sale right now for $8.99, and the best part is the only additional supply you’ll need is your trusty hot glue gun.  Didn’t I mention it was easy?? So, keep reading for my product review on this Poinsettia Kit from Michael’s which includes my:
  • step-by-step tutorial on how to make it
  • tips and tricks that I learned along the way to make crafting it easier, and
  • 4 ways you can display these gorgeous flowers at home
Prefer watching? Click here to see the video – https://www.youtube.com/watch?v=Z6D1fucBKR0 First things first, you’re going to need to assemble your supplies.  The other great part about this kit is all you need is your hot glue gun.  So go ahead and fire that baby up.

Next, the kit comes with a bunch of flowers, leaves and accent pieces to punch out.  So, after you’ve punched everything out, your table should look something like this:

The main thing to keep in mind with this kit is they’ve really made it fool-proof…and I’m a fool.  Because I messed up their very SIMPLE instructions, so don’t do what I did! More on that below.

Each flower, leaf, hexagon, and yellow dot has a letter marked on the back of it – either A, B or C.  Each complete poinsettia comes with a yellow dot, hexagon base, 3 flowers (that you will stack on top of each other) and several leaves.  So, the first thing you should do is find is your ‘A’ yellow dot, ‘A’ hexagon, all your ‘A’ flowers and your ‘A’ leaves.  Keep in mind that the leaves that correspond to each flower are not meant to be all the same size.  There will be bigger and smaller leaves with each flower to create a more natural look to your poinsettias.  Make an ‘A’ stack on your table with all of these components.  Do the same with ‘B’ and ‘C’.

At this point, we can start folding.  You might have noticed that each flower and leaf has a dotted line which is indented on the paper.  This is your score line and is meant to help you make that nice fold in the paper. No bone folder required here!

Be sure to fold your leaves and flowers so that the dotted line is on the bottom once you unfold it.  The score line is not meant to be seen.  This is where I became a fool and accidentally glued three of my leaves with the score line facing up.  I know.  I know.  I was too busy trying to finish this craft before my baby girl woke up from her nap.  Don’t do what I did.  Take your time before hot gluing!

After you’ve folded all of your leaves and flowers, we can start assembling the first poinsettia.  Let’s start with the ‘A’ stack, for example.  Take the ‘A’ hexagon and put a dab of glue in the middle of the  hexagon (letter side facing down).  Adhere your largest flower first.  Then put a dab of glue in the middle of that flower and add your medium sized flower on top, at an angle so that the petals are not directly in line with the flower underneath.  In other words, stagger the flower shapes so that the petals can all be seen.

Once all three flowers have been stacked, you can adhere your pom poms.  Take the ‘A’ yellow dot and glue it to the center of the smallest flower, with the letter side facing down.  Then, place a dab of glue in the middle of the yellow dot and adhere your pom pom.  (For the largest poinsettia, they gave you 3 pom poms to use, instead of 1.)  This is what your poinsettia should look like at this point.

Now we can start adding our leaves.  I would recommend laying the leaves out around your flower first, and once you are happy with the look, you can start gluing them on to the back of your flower.  Or, you can adhere all of the larger leaves first, and where you see bigger gaps, add your smaller leaves in.

Either way, I highly recommend adding the hot glue to your hexagonal base and then securing the leaf on top.  It’s much easier to secure your leaves in the right places if you put glue on the hexagon, rather than on the leaf itself.

Once you have adhered all of your leaves, this is what your flower should look like:

Finally, we can start adding our accent pieces!  This kit comes with several gold stems (large and small) and holly twigs.  Feel free to add these accents to all of your three poinsettia flowers in any direction you choose.  You can also switch up the layering by adhering them to the back, on top of your green leaves or even coming in front of your red poinsettia petals.  Have fun with it!

These are some ideas for how to showcase your Poinsettia Kit from Michael’s at home:

1. above a doorway, perhaps accented with a bow

2.  as a centerpiece to your table, perhaps with a large pillar candle in the middle.  I also accented this with some white berry twigs I had at home.

3. on your front door, placed around a large satin door ribbon, in place of a Christmas wreath 4. inside of a shadowbox, framed on the wall next to other Christmas wall décor items THE CRAFTY LEFTY’S PRODUCT REVIEW MICHAEL’S POINSETTIA KIT
  1. only requires one supply: hot glue gun
  2. instructions are simple and easy to follow
  3. the ‘A’, ‘B’, and ‘C’ labels on the pieces make it very easy to put together
  4. score line and indents on the leaves and flowers make it very easy to fold
  5. since each flower comes with different sizes of leaves, the finished flowers look more natural
  6. comes with many different kinds accent pieces, so you can easily customize each flower to your liking
  7. quick to assemble; takes about 30 minutes
  8. great addition to your Christmas décor
  9. versatile; can be displayed in a variety of different ways in your home
…and that’s it! Have you made this Poinsettia Kit from Michael’s (or any flower kit) before?  How did you like it?  Let me know in the comments below! Again, if you want to watch the full video tutorial and product review, be sure to check out the video tutorial here – https://www.youtube.com/watch?v=Z6D1fucBKR0